Rope play should be about the person you are tying and not the rope itself. But this presents a dilemma, how are you to tie with intent, emotion, and connection if you don’t have proficient technique? The solution is to make time for rope practice or “rope lab time” as it is called. For lab time, top and bottom are encourage to experiment with new ties and adapt them to work with each other’s bodies and tying styles. Lab time is distinct from “class time” as class time introduces and demonstrates new skills and techniques, in lab time you practice those skills and techniques, and find the ones that work best for you and your tying partner.
The following are some tips for making the most of your rope lab time that I’ve learned through trial and error:
1. Set your ego aside.
There will be lots of times that ties are not successful. It does not make you a bad top or bottom, it simply means you may need to make adjustments to the rope (placement, tension, etc.) or to the body (position, flexibility, strength, pain tolerance, etc.). Encourage all involved to be able to talk about ties that do not go as planned as sort of a debrief, that way you can think about what you may want to try differently next time. Try to also think about things that did go right, or felt good, so that feedback is balanced.
2. Clearly delineate practice/lab time from play/scene time.
If one person is intending to simply practice their skills or develop a new tie, and the other is expecting to reconnect with their partner in a special way, at least one person is likely to end up disappointed. Furthermore, it makes sense for a bottom to know you are in lab mode so that they can pay attention to how a tie feels and give you feedback on it as you go. A spacey rope bottom will not likely give you great feedback. Setting expectations is so important. Maybe you are just in the beginning stages of developing a new tie and you just need to doodle with rope a bit and don’t really need any feedback other than if there is a safety issue. Tell your bottom that. Maybe you have a tie you use a lot but are adapting it to a new bottom…you will probably need a lot of their feedback on that so let them know that you want them to be aware of how the rope feels as it is put on and let them know if there are any specific areas you want them to focus on.
3. Consider relaxing or totally doing away with D/s protocols for lab/practice time so that top and bottom both feel free to be frank with their feedback.
Rope is a collaborative effort, and if either top or bottom feels like they can’t be honest about something, it will hinder your skill development and possibly make it more likely for one of you to be injured. Of course do whatever works for you, as long as it encourages all participants to be open and honest about their communication.
4. Have a plan.
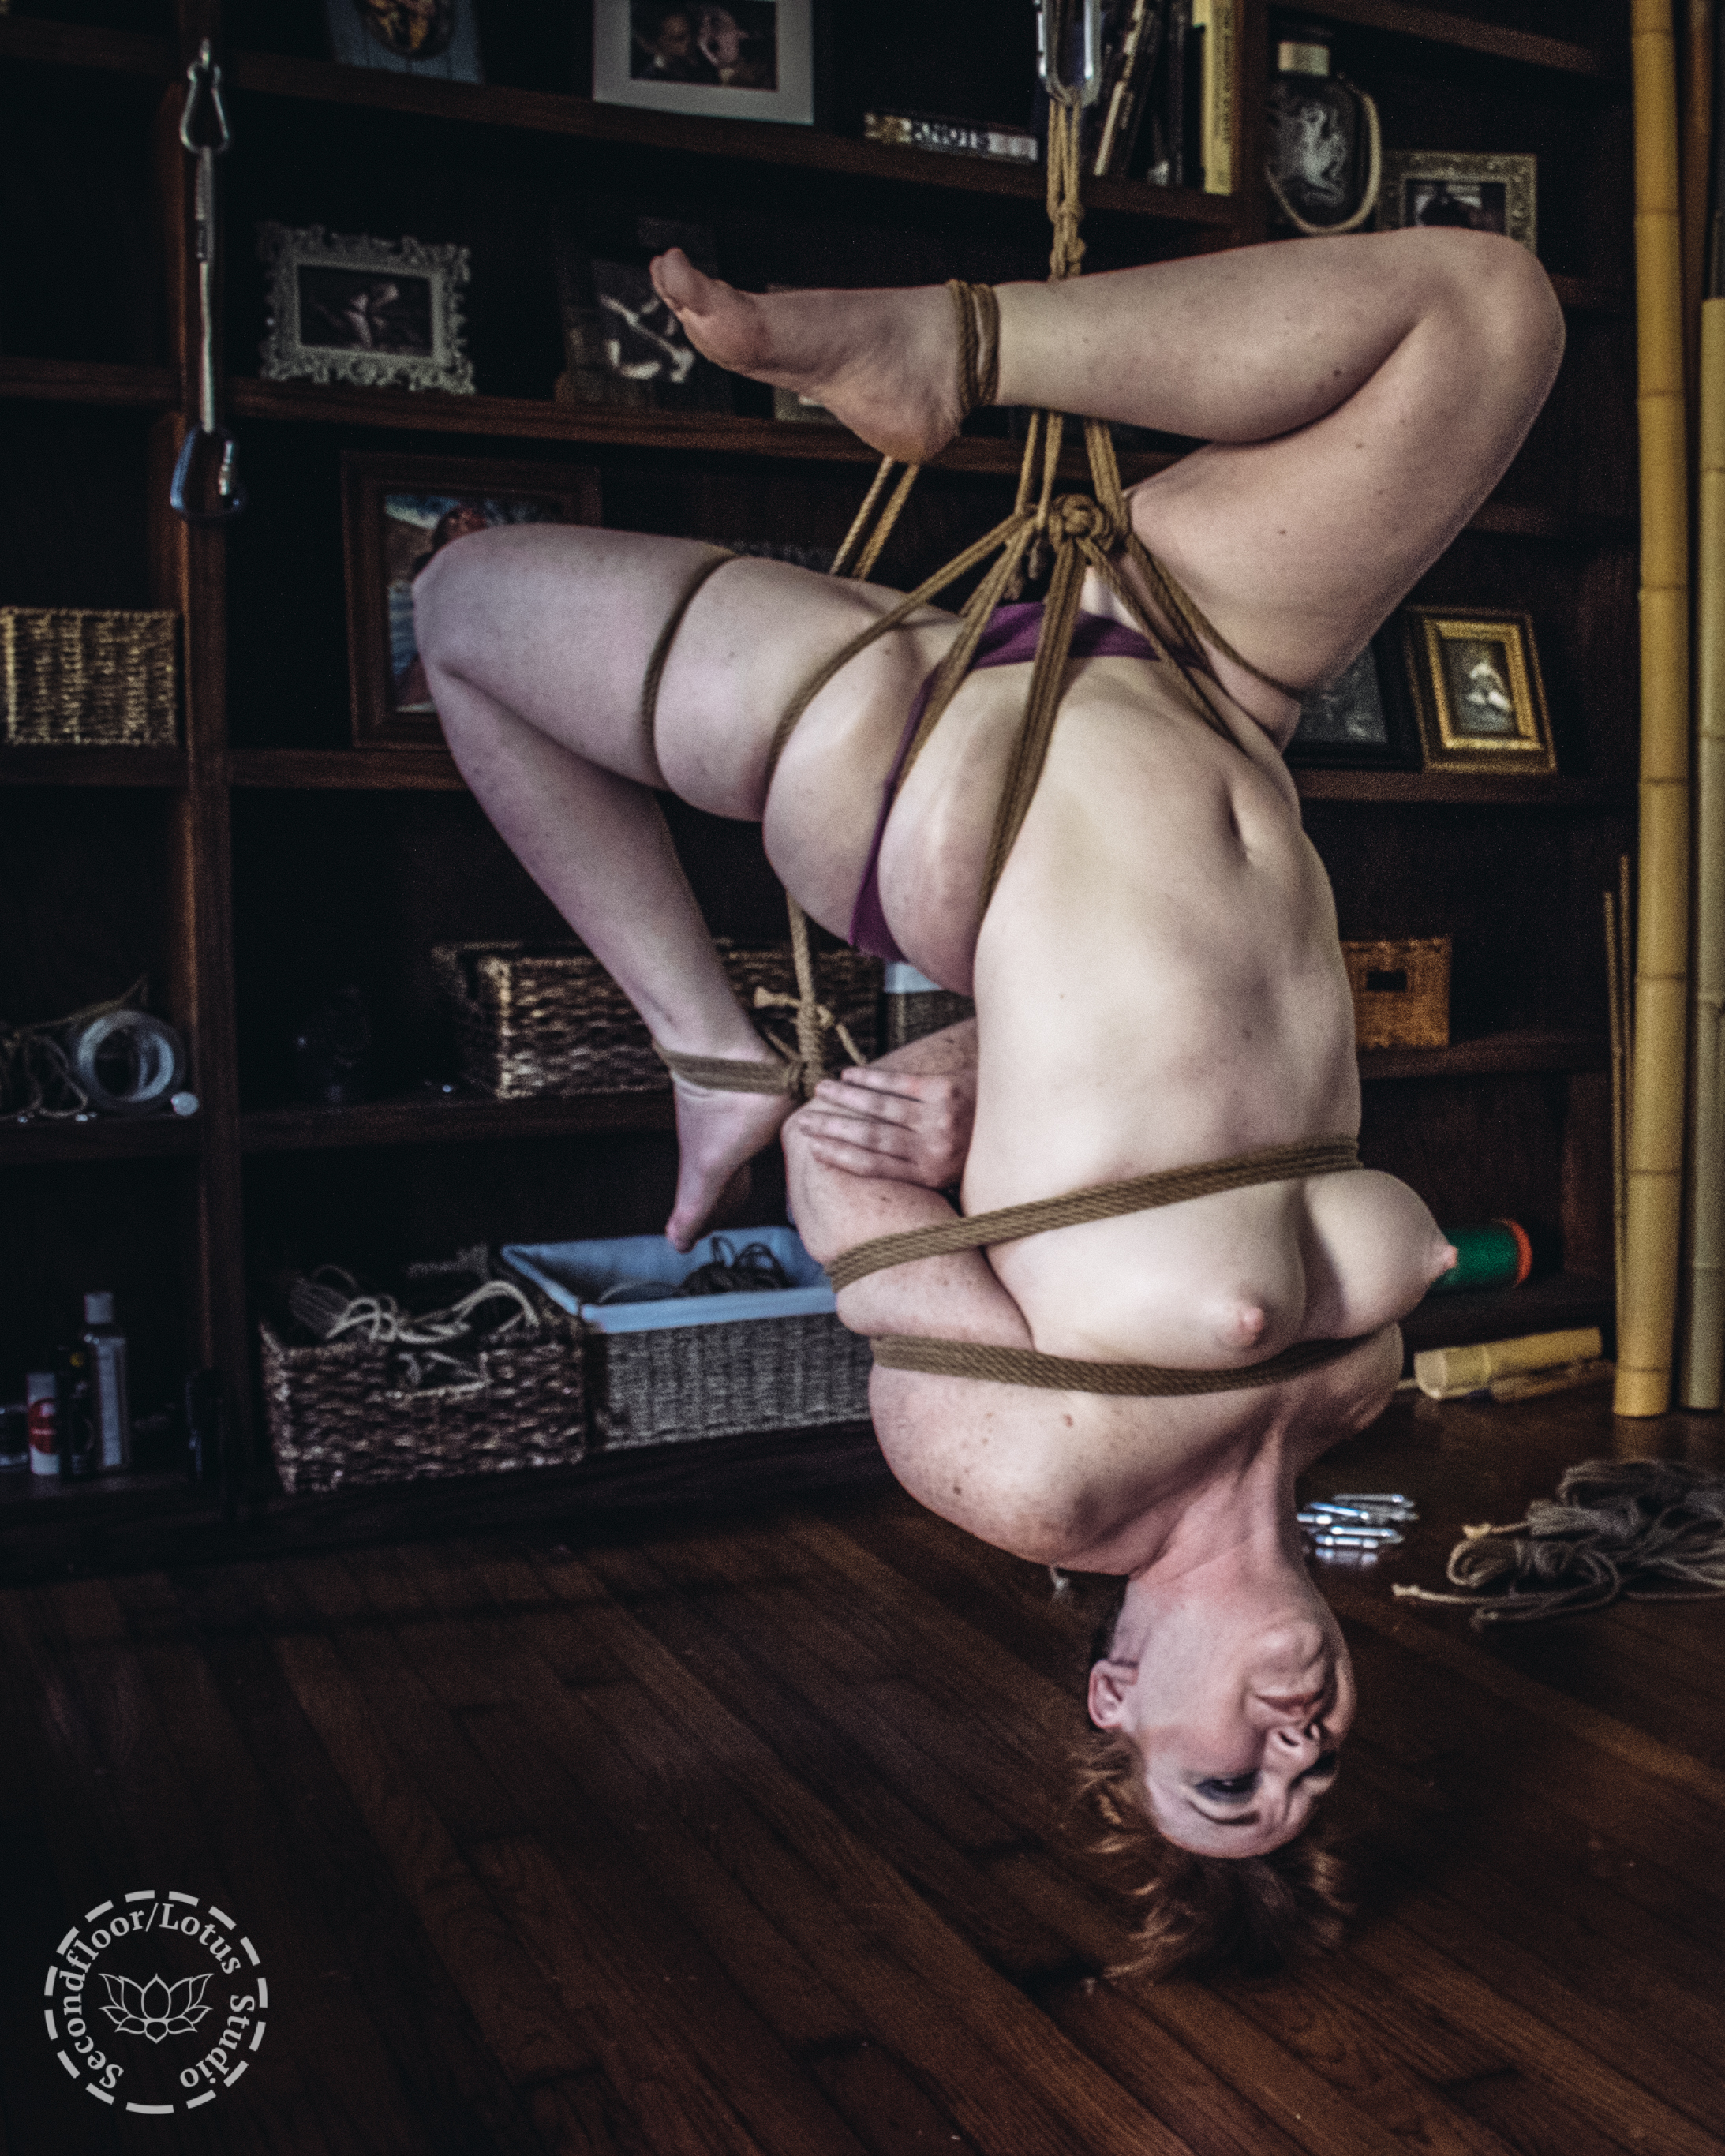
Tops, try to give your bottom an idea of what you will be working on so they can prepare their body/mind and stretch accordingly. Likewise, bottoms communicate any body issues/injuries you have so that the top can plan their practice accordingly. I, personally, like having an idea of what my body is going to be going through so I can assess if I have the energy to make that happen. If I know a rough idea of a suspension transition sequence we are going to practice, I may be able to push through to the end, instead of calling it before its finished because I didn’t know where the exit was going to be.
5. Feedback is CRITICAL to honing skills and perfecting ties and this is not all the bottom’s job/responsibility.
The top should be asking questions like “where are you feeling the most pressure?”, “is there anything I can adjust to make you more comfortable?” When beginning to learn suspensions, the top should be making slight adjustments in relative body position and asking the bottom what difference it makes for them as far as pressure, muscle pain, difficulty breathing, etc. That way both top and bottom can learn about about what effects their relative body positions have on a tie.
6. If you aren’t feeling up to tying, don’t be afraid to say so.
Rope can be a very mentally and physically demanding activity, even in practice sessions, so if you aren’t up to it, you should probably just be honest with yourself and your partner instead of tying anyway and having a terrible outcome from not being in the game (mentally or physically). Maybe you have enough energy to practice a TK but not suspension. It is ok to communicate that instead of forgoing doing rope at all.
7. If you don’t have a partner, don’t be afraid to practice on yourself or on an inanimate object.
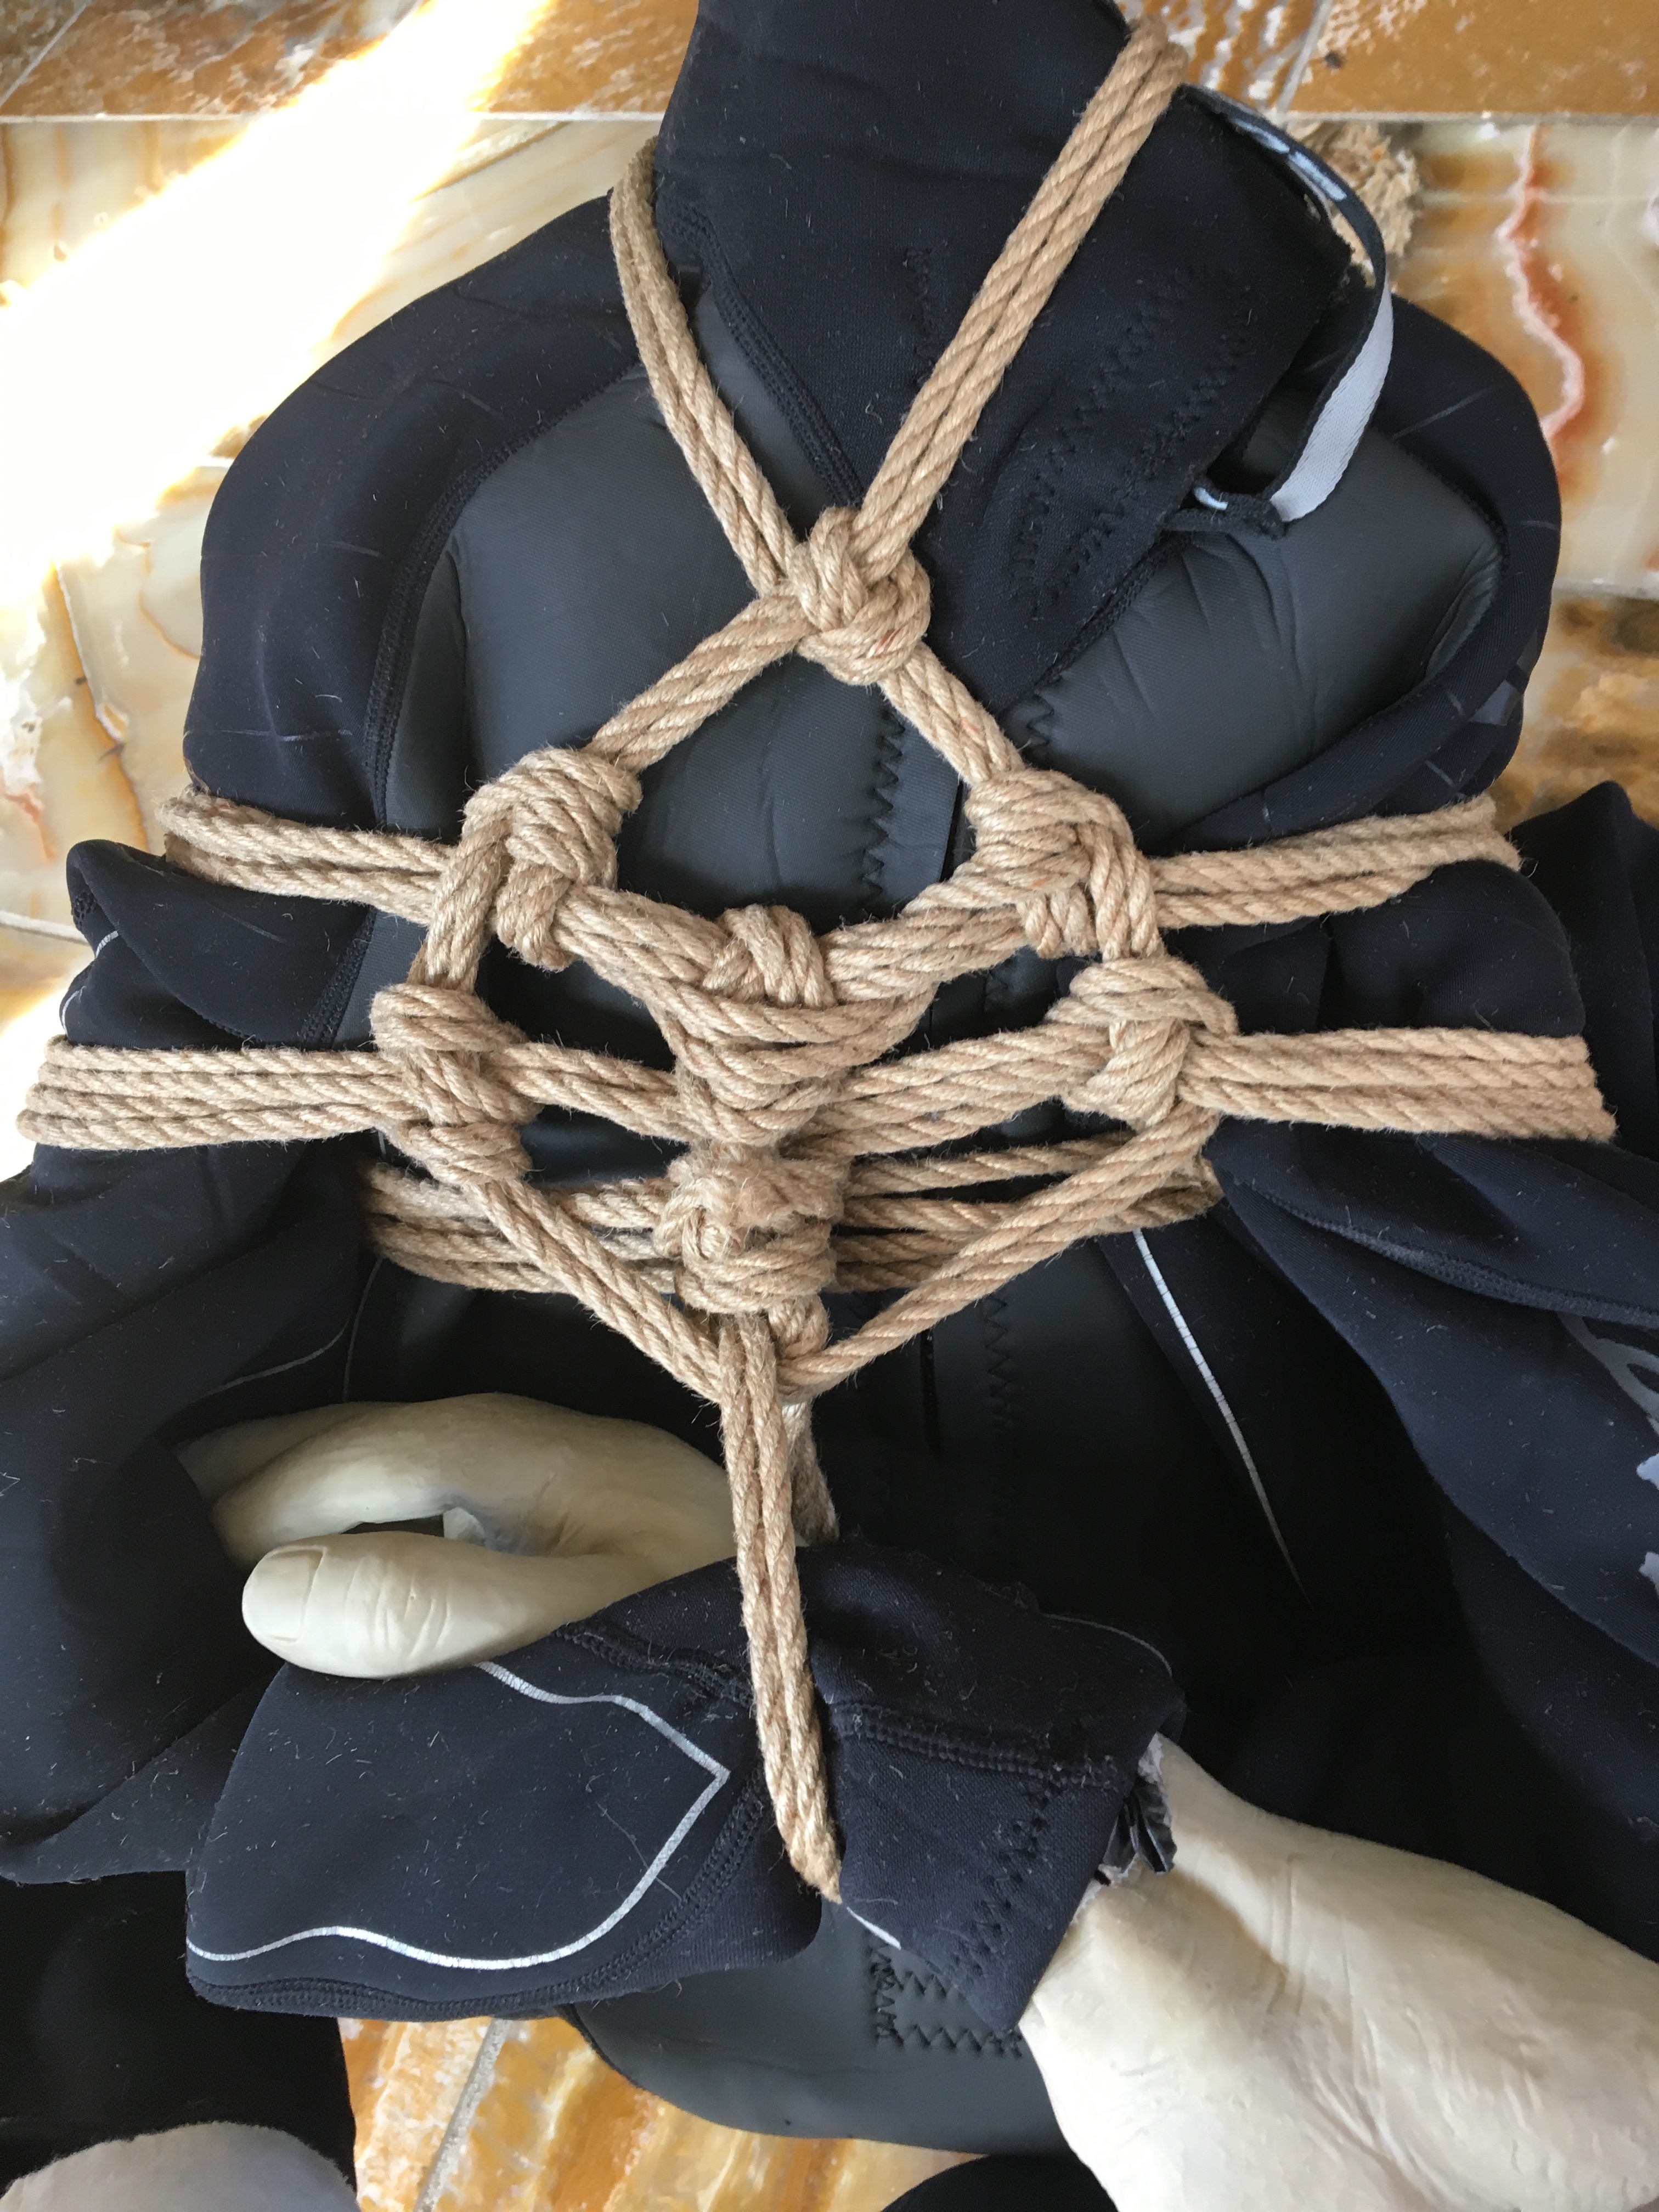
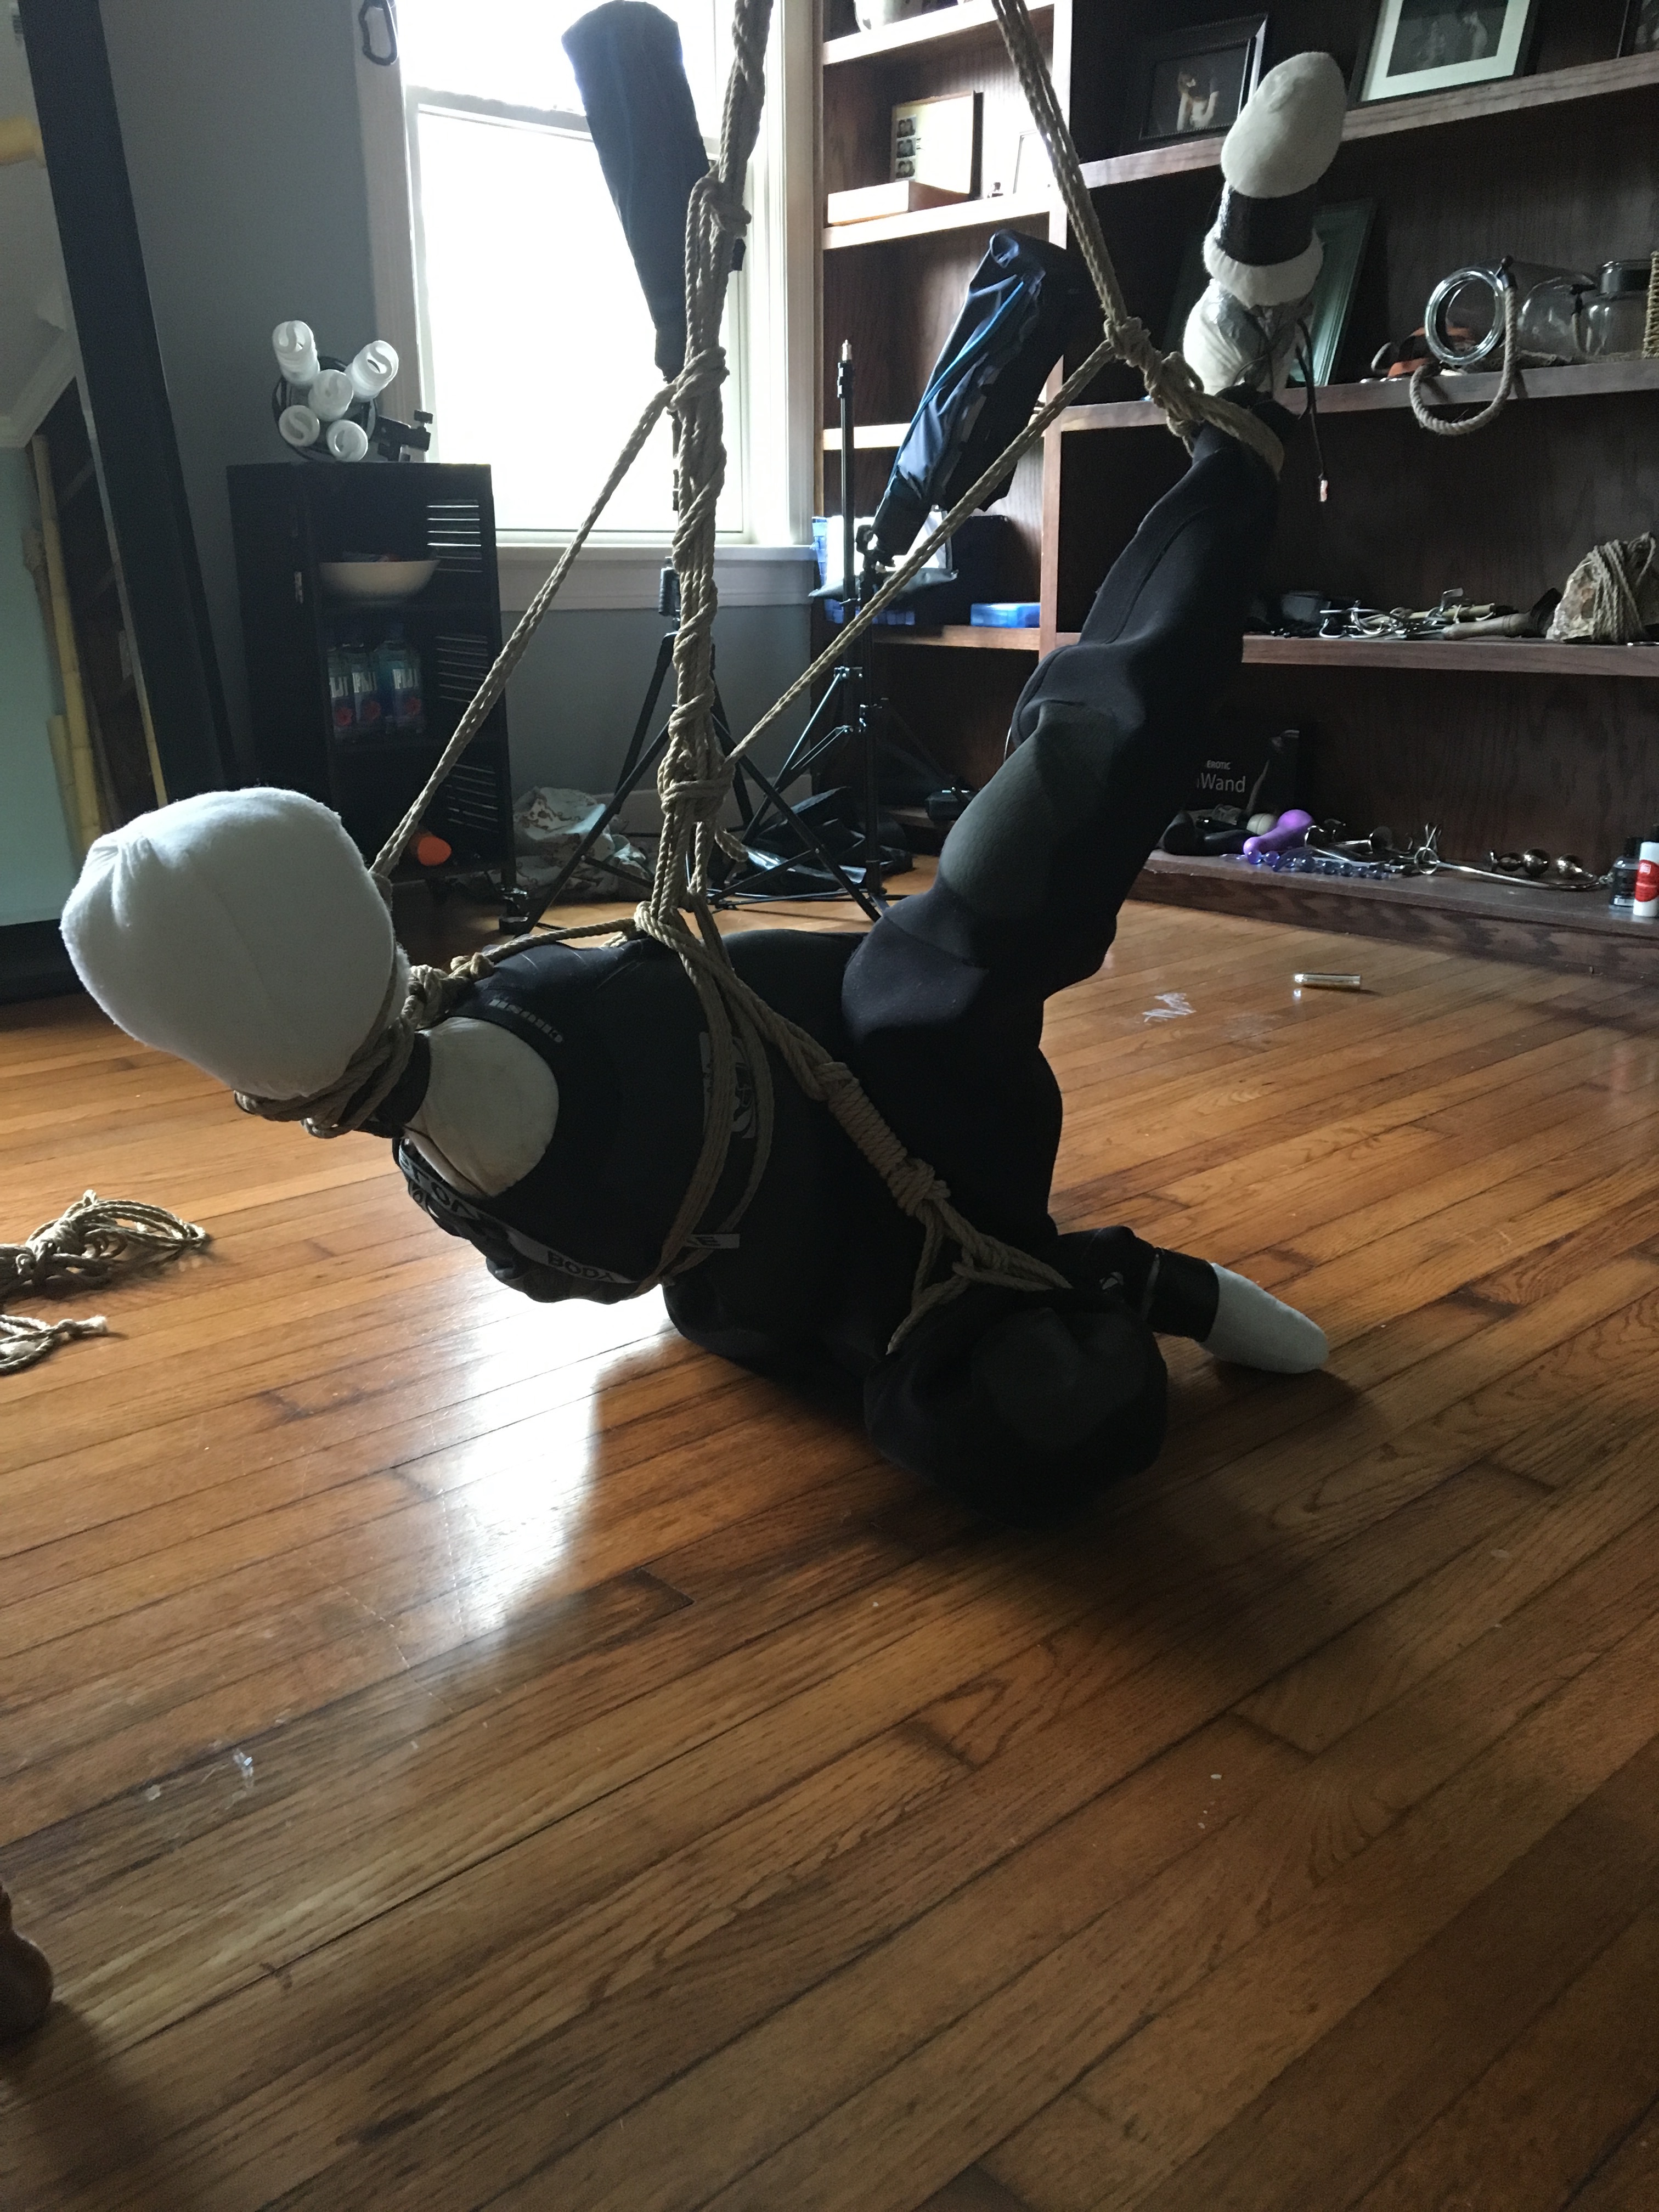
Rope handling is one of the biggest skills that will make a difference in your scenes, but it is something that I think a lot of people neglect to practice. Luckily, rope handling can be done without having a bottom since all it really requires is that you use your hands to move around rope and work on changing your tension, tying different frictions/hitches/knots, and varying your speed. I can’t even count the number of times I’ve tied my legs just to get my hands on rope or to practice different frictions & locks. We also have a dummy that Secondfloor made for us to try out new patterns on.
8. Encourage bottoms to practice body awareness so that their feedback is specific and direct.
With time and practice a bottom should be able to distinguish between a comfort adjustment, safety adjustment, or aesthetic adjustment and be able to communicate them appropriately. Ie, a safety adjustment request is: “can you move up my left lower wrap on the TK, I think it is on the nerve?” While on the ground, you can probably wait till an opportune time to request that adjustment. While in the air, you will need to request it as soon as you realize it is a problem (but they may not be able to adjust it right away because they may have to lock off a line first). A comfort adjustment might be “can you flatten the wraps on my left ankle when you get a chance, they seem to be bunched?” This is less imminent, and they may even choose to ignore it if your comfort isn’t a priority. If the comfort adjustment impacts your duration in the tie, you may want to communicate that though, ie, “that ankle wrap was pretty painful, and I might have been able to last longer in it if it was looser or had more wraps.”